
[note color=”##fcbb4f”]
Best practice procedure uploading bank statements
1) Check in Twinfield from which date of the bank statements should be uploaded
2) Download the CSV/TXT bank statements from your bank
3) Fill the beginning balance in E-Twins; this is the balance you find on the general ledger of the bank in Twinfield
4) Upload the CSV/TXT bank statements
5) Check the error messages (if any appear)
6) Check the ending balance in E-Twins with the balance on your bank statement
7) Compare in Twinfield in E-Bank Statements the information with your bank statements
[/note]
[note color=”##fcbb4f”]Downloading Bank Statement[/note]
Downloading bank statement
Some banks have the possibility to enter transactions on a prior date; such transactions will not appear in later search criteria. For example; If you need the transactions up till the 15th, in some cases you should wait a couple of days before you can download the CSV/TXT transaction up till the 15th.
[note color=”##fcbb4f”]Installation[/note]
Proxies/firewall/closed ports
If you have a firewall, work with a proxy server and/or ports are closed; the tool cannot be installed and / or cannot use the webservices with Twinfield. Please contact us if you need help by the installation of this tool.
E-Twins uses port 587.
If the tool is installed, it will create a XML file which can be uploaded through the file manager in Twinfield.
E-Twins Setup New bank
Best practice for setting up a new bank:
1) Open the CSV file in Notepad
2) Choose: Header Yes/No
3) Fill in line number: First Data Row
4) Fill in line number: Field Separator
5) Choose Date Format
6) Open Import File
7) The Headers or F1/Fx etc will appear in the screen, top down.
8) Drag and drop the Headers in the correct “Map”
[note color=”##fcbb4f”]E-Twins use[/note]
First time upload
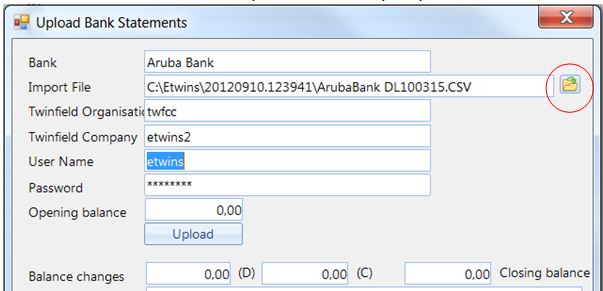
If you didn’t fill in the path of the “import file” you will get an error message when clicking on the folder icon. Please fill in this path in the setup of your bank definitions.
Unsuccesfull upload
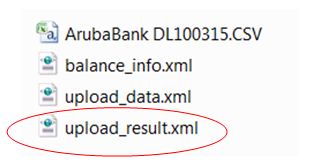
If the upload was not successful; check the “upload_result.xml” or “balance_info.xml “ for the error messages. Solve the error(s) and upload the file again.

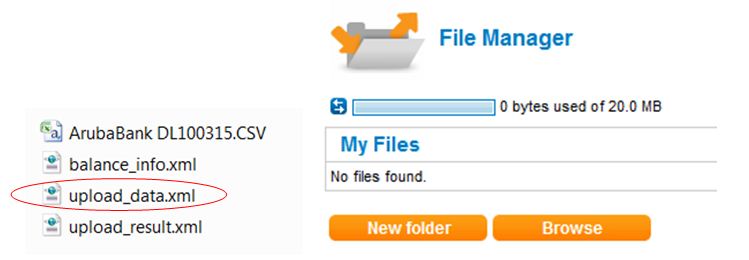
Upload_data.xml
The “upload_data.xml” file can also be uploaded and imported directly into Twinfield with the File Manager.
CSV looks fine but E-Twins doesn’t recognize the columns
In a few cases the CSV file looks fine but E-Twins doesn’t recognize all the columns. This can be solved in the following way.
Open the CSV file in Excel
Text to Columns to separate the columns correctly
Save the file as CSV
Excel uses ; as separator
Use E-Twins for uploading this file.
Format date
If you get an error message by testing/uploading the file; please check first the format of the date: 31/12/2012 is coded as: DD MM YYYY. 12/31/12 is codes as MM DD YY.
To see the format of the date in your CSV file; open the CSV file in Notepad (Right mouse, open with) and check the format of your date.
Balance_data.xml
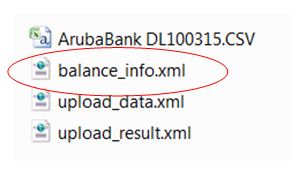
In the file “balance_info.xml” you will find the balances; starting balance (manual input) calculated debit / calculated credit / calculated ending balance. You also will find the error message(s).
Icepay
In the file from icepay the row with the monthly fee has fewer columns than the received amounts. Therefore this row is not recognized and not imported. This can be fixed by open the CSV in Excel, add information,
and save this file in CSV again.
CSV / TXT formats bank
It happens that banks supply files with little logic, making that it cannot be recognized as “Standard”.
In these cases please contact us at info@twinfield.cc . Perhaps we can help you with a tailor-made solution.
Error messages
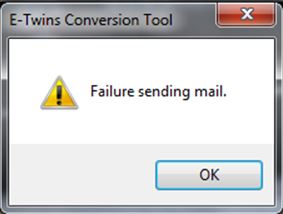
An Error message like this; try the upload again until your upload is successful
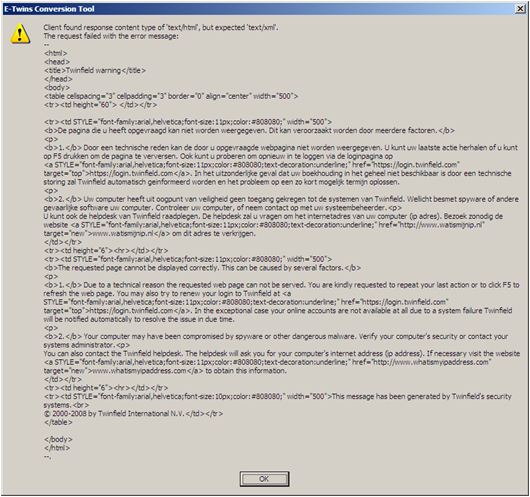
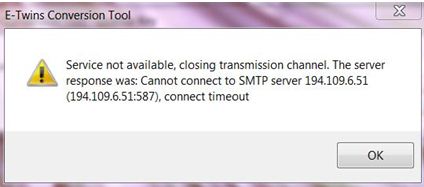
An Error message like this

1) please fill in your password correctly;
2) please check if your user is enabled in Twinfield;
3) try the upload again.
